Best Practices for Building a Website – 8 Guidelines to Follow
If you want to make a functional yet simple website for your small business or personal needs, you must first learn the web development essentials, from hosting services to the basics of website design.
Doing so will help you save time and money as well as ensure your site offers a good user experience.
For beginners, we recommend using a builder platform, as it lets you create a website and launch your business online without coding knowledge.
With this in mind, we‘ll go over the basic guideliness of building a website in more detail. Although we’ll use Hostinger Website Builder for this tutorial, these website basics also apply to other web development platforms.
Download website launch checklist
8 Best Practices for Building a Website
Without further ado, let’s go over the website-building basics using Hostinger Website Builder in a step-by-step order.
1. Plan Before You Develop
The first website-building step is to create a plan to determine each web development stage in detail. Doing so will let you know how long it should take and what to expect.
Here are several aspects to consider when planning.
Website Goals and Target Audience
Determining your website goals helps you decide its content and provides a guide to measuring its success. For instance, an online business website aims to attract leads and convert them into customers.
After understanding your website goals, define your target audience. It helps you determine the most effective marketing and design strategies to capture your visitors’ attention.
Budget and Timeline
Planning your website development project’s timeline helps organize your workflow and track progress. Meanwhile, determining the budget helps you evaluate important features to include in your website.
Your project’s timeline and total cost vary greatly depending on the website’s complexity and platform.
A website-building platform is the best option if you have a tight schedule and budget. For instance, Hostinger’s builder lets you create a simple website in a few hours for ₹129.00/month.
Web Hosting and Domain Name
A web hosting service and a domain name are a must when building a website. The latter is what visitors must type in their browsers to access the site, like hostinger.com, and the former makes the website accessible online.
While you can purchase them from a web host and registrar manually, Hostinger saves you the hassle of doing so.
Hostinger Website Builder includes a free domain name and a web hosting plan. It also has built-in performance analytics and search engine optimization (SEO) tools to help grow your site traffic.
Our website-building platform is ideal for personal blogs and portfolios. Its built-in online store features also make this platform suitable for a small-to-medium eCommerce website.

Suggested Reading
Check out these guides on picking the best website builder for your website:
Easiest AI Website Builder
eCommerce AI Website Builder
Free AI Website Builder
Best Website Builders for Small Businesses
Best Personal Website Builders
Design Inspiration
Seeking web design inspiration can speed up the development process and ensure the website fits your vision. A great way to do this is to research competitors to find the design elements that make them stand out.
Alternatively, explore websites like Awwwards, Behance, and Pinterest for inspiration. Then, use a project organizer tool like Milanote to gather the references and finalize your design.
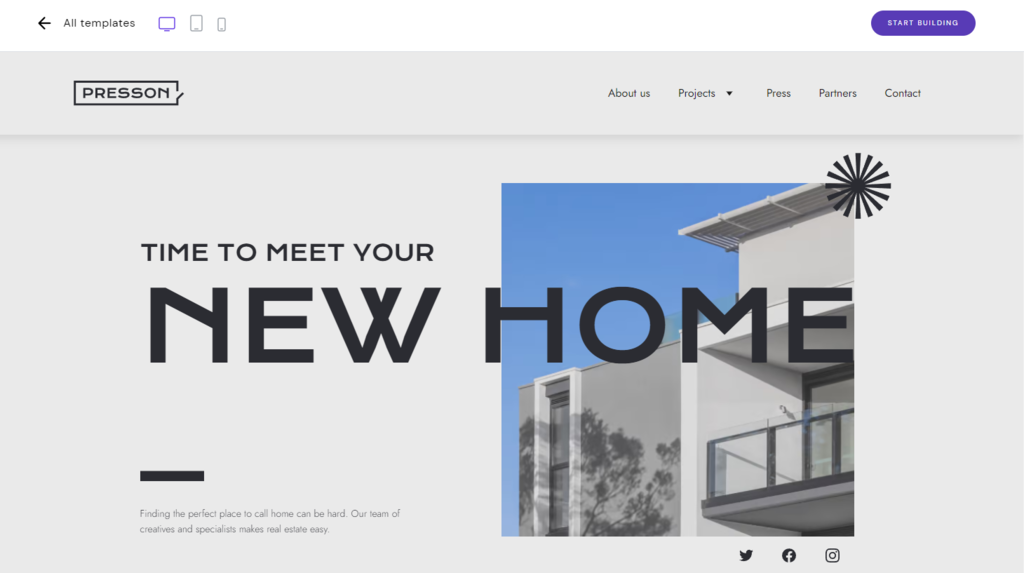
To help you further, Hostinger Website Builder provides free, ready-to-use design templates to speed up this process. Users can use the drag-and-drop editor to easily customize it without hiring a web designer.

2. Make a Wireframe
A wireframe is a two-dimensional blueprint that outlines your website’s layout, navigation, and element placement. It helps you visualize your website’s page structure, functionality, and user flow.
In addition, a wireframe helps ensure your website design’s optimal usability and user experience. It also speeds up the website creation process as you already know what to build.
A wireframe commonly maps site elements such as logos, search fields, headers, call-to-action buttons, and placeholder text. It is typically in greyscale to let designers experiment with the color scheme later.
While you can use a pen and paper to quickly create a wireframe, it won’t provide an accurate view. For a more precise representation, use a wireframing tool like Wireframe.cc.

Luckily, you won’t need to create a wireframe in our builder platform since the template automatically generates the website layout and element placement. However, you still need to create one if you want to build a new page from scratch.
3. Understand Visual Hierarchy
Visual hierarchy is a placement strategy that helps draw visitors’ attention to the most important website elements. It helps users find navigation elements easily and improve engagement.
Since users generally scan your website content, visual hierarchy ensures they receive the main information. To achieve this, consider the following aspects:
- Color. Since bright colors easily grab attention, use them for important elements like buttons. Also, ensure the color contrasts your website background to make the button stand out.
- Size. Important elements should be bigger to make them more noticeable.
- Placement. Visitors tend to follow the F or Z pattern when viewing a website. Place crucial content according to these patterns to ensure users see it.
- Perspective. Use shading and layering to create depth on your website. Add the most important element at the front to make sure it sticks out.
Hostinger Website Builder lets you customize elements’ size and color to create a visual hierarchy. To change an element’s placement, simply click and drag it anywhere on the page.
4. Know How Images and Colors Interact
Images and colors are two visual elements consumers appreciate the most in a good website design. Implementing them well can significantly improve your website’s user experience.
We recommend a website use a maximum of four colors to avoid overcomplicating its look. The best practice is to use three colors with the 60-30-10 rule to balance your website’s appearance.
Suggested Reading
For your inspiration, check our best website color schemes tutorial to get some ideas.
Your images should also match the site’s color scheme to maintain design consistency. In addition, avoid using too many images, as they may slow down your website.
To maintain your website performance, compress your images to reduce their size without sacrificing quality. Ideally, your images should be of medium quality with 72 pixels per inch resolution.
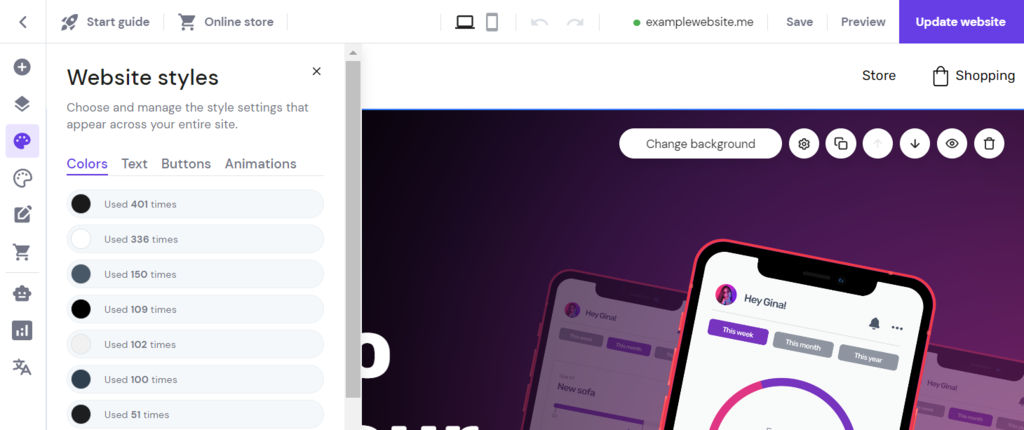
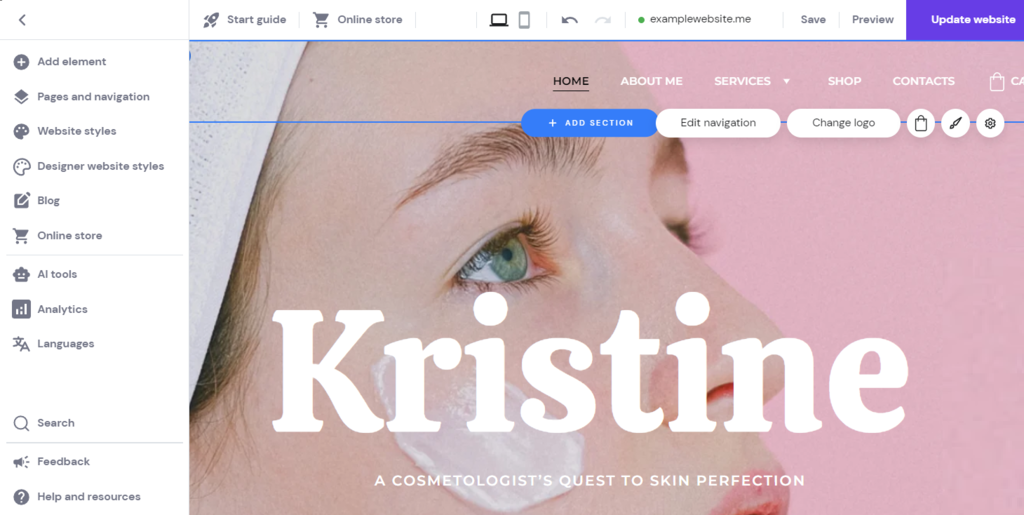
Hostinger’s builder platform provides copyright-free and high-quality images for your website. It also lets you manage your website’s global color scheme through the Website styles menu in the sidebar.
5. Choose the Right Fonts
Since many website elements are text-based, choosing the right typography is crucial for a site’s usability and user experience. When choosing fonts for your site, consider their typeface, size, and length.
To ensure readability across different devices, use a web font optimized for mobile use. An example of such a font is Montserrat which is available in Hostinger Website Builder by default.
Our builder platform also lets you upload custom fonts to your website for variations. However, avoid using more than three typefaces, as having too many fonts may slow down your website.
Use at least 16 px font size to maintain its readability on a smaller screen. Also, keep your text lines between 40-80 characters to make them easier to read.
6. Gather Brand Assets
Brand assets are website elements representing your business’s identity, like the company name, logo, favicon, and color scheme. Well-designed assets allow your website to stand out from the crowd.
The company name and color scheme are simple to create as you don’t need specific software. However, creating a logo and a favicon may take longer and require a graphic designing tool like Photoshop.
To help you out, Hostinger Website Builder provides a built-in AI logo generator, saving you time and money. To access it, open the editor screen and navigate to the sidebar menu → AI tools → Logo maker.
Choose whether to create the logo automatically, based on descriptions, or manually in the generator screen. After generating a logo, you can save it or set it as a favicon through the Website settings → General Settings.
7. Design Your Website’s Structure
A website structure is the organization of your site’s pages through navigation systems and internal linkings. A well-designed site structure helps visitors find information easily and improves search engine rankings.
To create a well-designed website structure, consider the following best practices:
- Make URLs SEO-friendly. Include keywords, title tags, anchor text, and a category in your page’s URL. An example of a good URL is www.yourwebsite.com/category/subcategory/the-page.
- Plan navigation menus. Create a dropdown menu containing your website’s pages to help visitors easily navigate. Put the menus on the homepage to make them easily noticeable.
- Use internal links strategically. Use descriptive and keyword-rich anchor text for internal links. Also, link important pages to improve SEO.
- Determine each page’s depth. Ensure all pages are accessible within five clicks from your homepage. Otherwise, visitors might leave your site since they won’t find what they are looking for.
- Create category pages. Use categories to group and link topically-related pages. They also let you add new pages easily without affecting the site structure.
After designing your website structure, create a sitemap to help search engine crawlers understand the connection between each page.
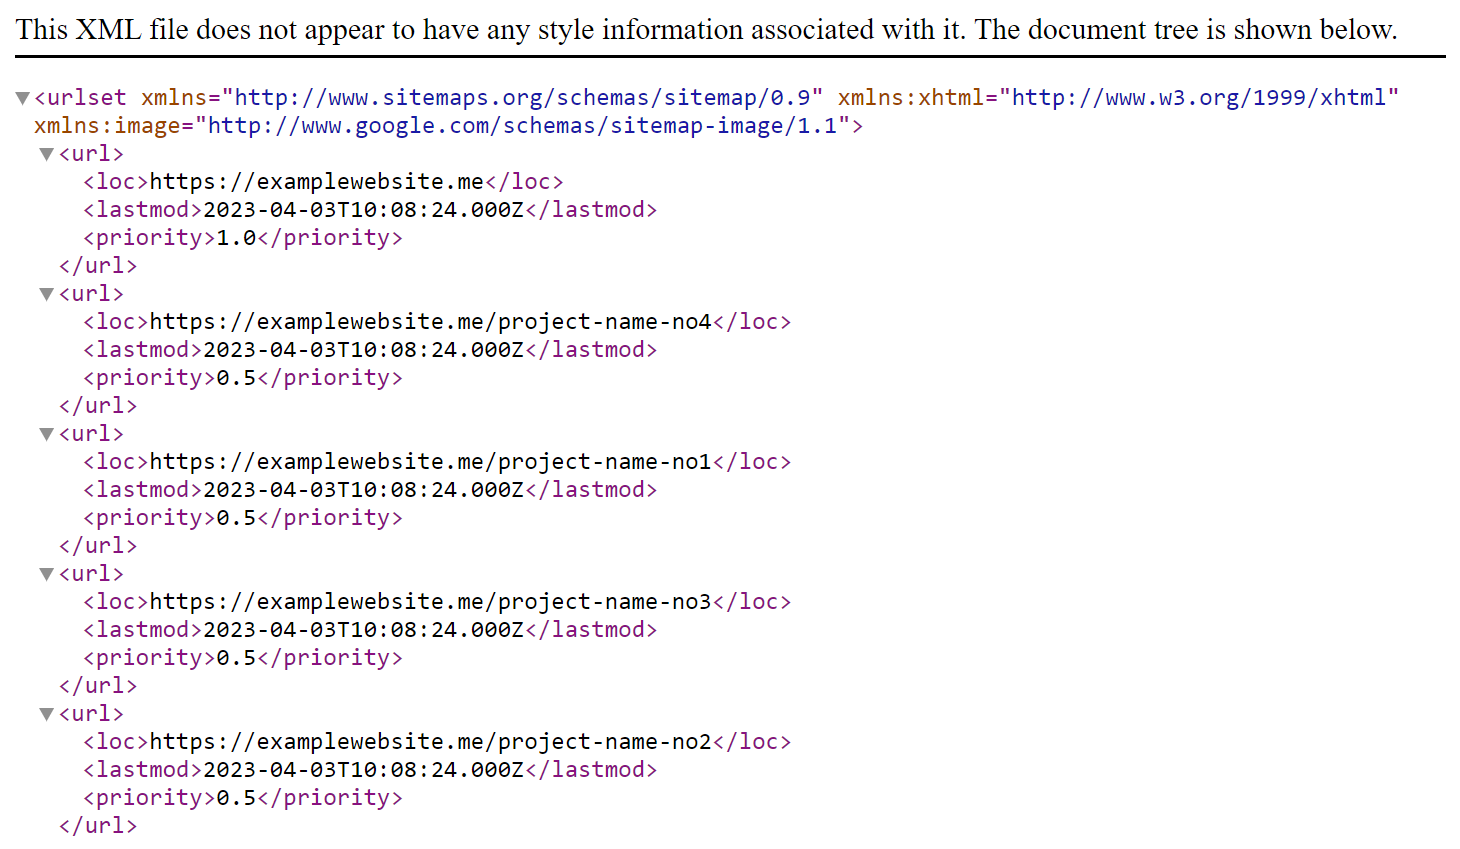
Hostinger Website Builder automatically generates a sitemap you can access via domain.tld/sitemap.xml. It also renews the sitemap whenever you update your website.
Learn More About Web Development and Design
How to Make a Website
How to Design a Website
Web Design Best Practices
8. Test Before Launching
Before launching, test your website to check for errors and ensure it works properly. You don’t want your visitors to find issues first, as they might not return to a poorly-performing site.
Use our builder’s preview feature and try to navigate your website to gain insights into how visitors may interact with it. When testing, consider the following aspects:
- Performance. Use Google Page SpeedSpeed Insights to accurately test your site loading speed.
- Images. Make sure they are optimized and loaded properly.
- Links. Check for dead links and HTTP errors like 404.
- Features. Test your website’s functions, like the search bar, call-to-action buttons, and subscription forms.
- Navigation. Verify if the navigation button works and your site’s web pages are in the right order.
- Mobile-responsiveness. Preview your website’s mobile version to ensure it displays and works properly on different devices.
After deploying your website, conduct testing in production to check its usability based on real visitors’ behavior. This step is important as some website issues will remain regardless of how thoroughly you test it.
Conclusion
Site builders let users without technical knowledge or web development experience create business websites easily.
In this article, we have explained the basics of website building. Although we used Hostinger Website Builder, the following tips apply to every platform:
- Plan before development. Determine your website goals, budget, timeline, hosting, and domain name.
- Make a wireframe. Create the blueprint of your site’s page layout and design.
- Understand visual hierarchy. Make important elements stand out using colors, size, and placement.
- Know the image-color interaction. Use images that match your website’s color schemes.
- Choose the right fonts. Use 16 px web fonts like Montserrat to ensure text readability across all browsers.
- Gather brand assets. Create the company name, logo, and favicon for your site.
- Design your site’s structure. Organize your site’s pages according to their content and importance using internal linking.
- Test before launching. Check for errors that affect your site’s user experience.
We hope this article helps you create a professional website for your goals. If you have any questions, leave us a comment below.

Aris is a Content Writer specializing in Linux and WordPress development. He has a passion for networking, front-end web development, and server administration. By combining his IT and writing experience, Aris creates content that helps people easily understand complex technical topics to start their online journey. Follow him on LinkedIn.