How to add custom CSS to WordPress + troubleshooting tips
While WordPress offers various customization options, custom code provides more flexibility and freedom. For example, adding cascading style sheets (CSS) to modify your site’s appearance, including its color and layout.
If that’s something you’d like to do with your own website, below you’ll find how to add custom CSS to WordPress using four methods with different tools. To ensure smooth customization, you will also learn common issues when using CSS and their solutions.
What Is CSS?
CSS stands for cascading style sheets, a language that modifies the appearance of HTML elements on your website. For example, you can change a text’s color, spacing, dimension, and alignment to personalize the look.
In WordPress, adding custom CSS lets you override existing code in your theme’s stylesheet, which contains the default styling for your website’s design.
Add custom CSS to WordPress using 4 methods
Here are four methods to add your own CSS to a WordPress website. Since they use different tools and vary in difficulty, choose one based on your preferences.
Adding a custom CSS class using the block editor
For WordPress 5.9 or above, add custom CSS using the Gutenberg editor. This method is relatively simple and suitable if you use a block theme. Here’s how to do so:
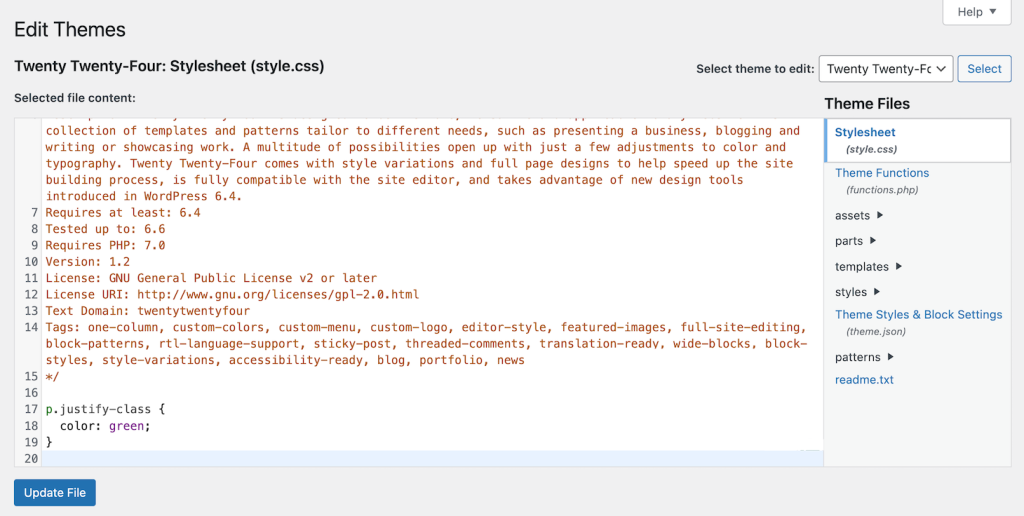
- Log in to your WordPress admin dashboard and navigate to Tools → Theme File Editor.
- From the Theme Files sidebar, select the style.css stylesheet.
- Add your custom CSS class at the bottom of the file. For example, we will add color-class that changes the text in a paragraph block to green:
p.color-class {

  color: green;

}
- Click Update File.
Now, let’s apply the new CSS style to a text block via the Site Editor. Here are the steps:
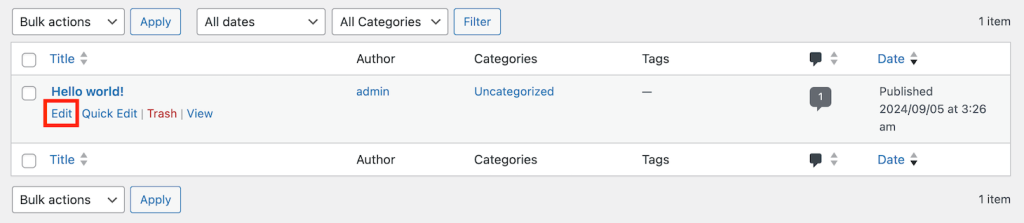
- From your WordPress dashboard, go to Posts → All posts.
- Hover over the post you want to edit and click Edit.
- Click a block you want to modify. In our case, it is a paragraph.
- Go to the block settings menu on the sidebar → Advanced → Additional CSS Class(es). If you can’t find the menu, click the Settings button on the top right corner next to the three-dot icon.
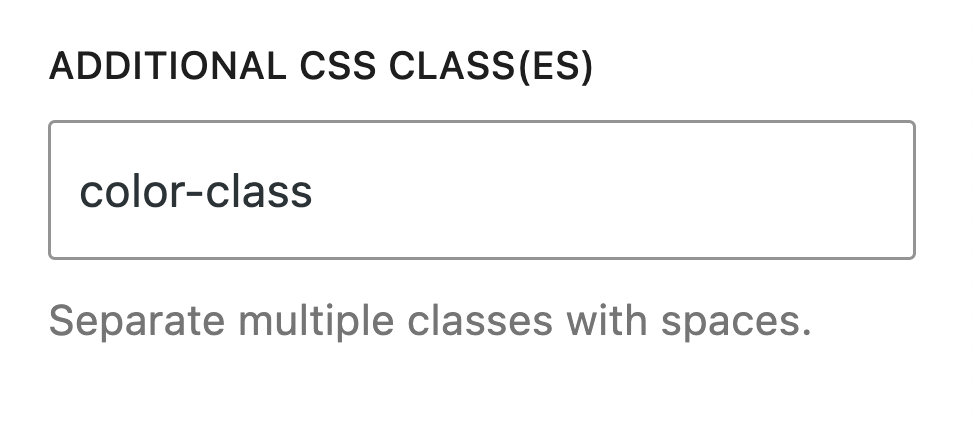
- Enter your CSS class and hit Save.
That’s it! To apply multiple CSS classes to a block, write them separated with a space. To remove the styling, simply remove the code from the style.css file.
Adding WordPress custom CSS using a plugin
You can also add custom CSS using a plugin. This method is ideal if you change themes regularly since you can reapply your code without manually copying and pasting it.
Different tools exist to do the job, but we will use WPCode since it is one of the most popular and feature-rich options. Here’s how to do so:
- Install the plugin by going to your WordPress dashboard → Plugins → Add New Plugin.
- Search WPCode and click Install. After the setup process is finished, hit Activate.
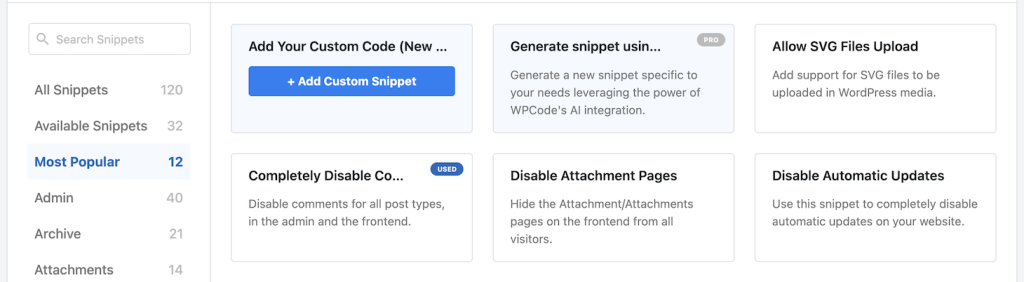
- Go to the sidebar → Code Snippets → Add Snippet → Add Your Custom Code.
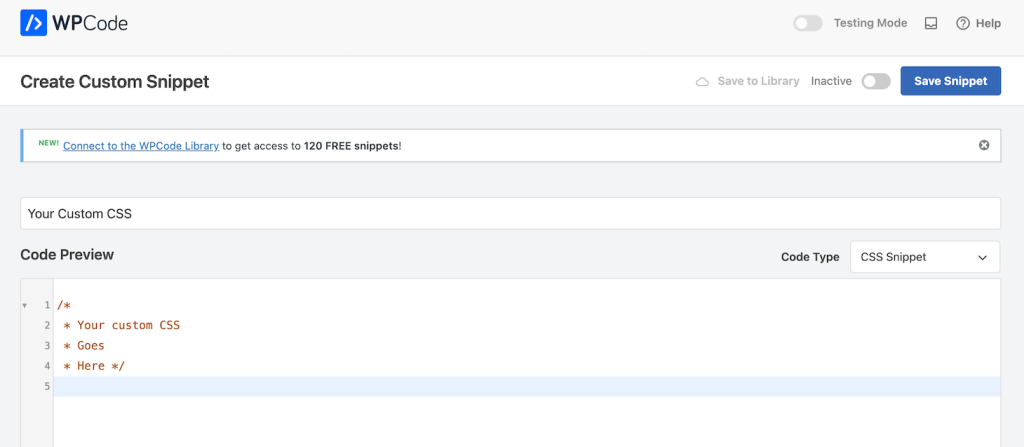
- From the Code Type menu, select CSS Snippet.
- Name your new snippet and write your code in the designated field.
- Scroll down to adjust other settings, including the insertion method. If you want the new style to apply to specific pages, choose Shortcode. Otherwise, pick the auto-insertion option. Hit Save Snippet.
- Return to your WordPress dashboard’s sidebar → Code Snippets.
- Find your new snippet and click the Status toggle to enable it.
That’s it! WPCode also offers several ready-to-use templates that allow you to insert additional styling without writing the CSS code from scratch. Access them by going to the sidebar → Code Snippets → Library.
Important! Always keep your plugin up to date to minimize security risks.
Adding WordPress custom CSS with a theme customizer
If you use a classic WordPress theme, you can add custom CSS using the built-in theme customizer. Here’s how to do so:
- Navigate to your WordPress dashboard’s sidebar → Appearance → Customize. If you can’t find the menu, add /customize.php after wp-admin in your website URL.
- Click Additional CSS from the sidebar.
- Write your custom CSS code and hit Publish to save the changes.
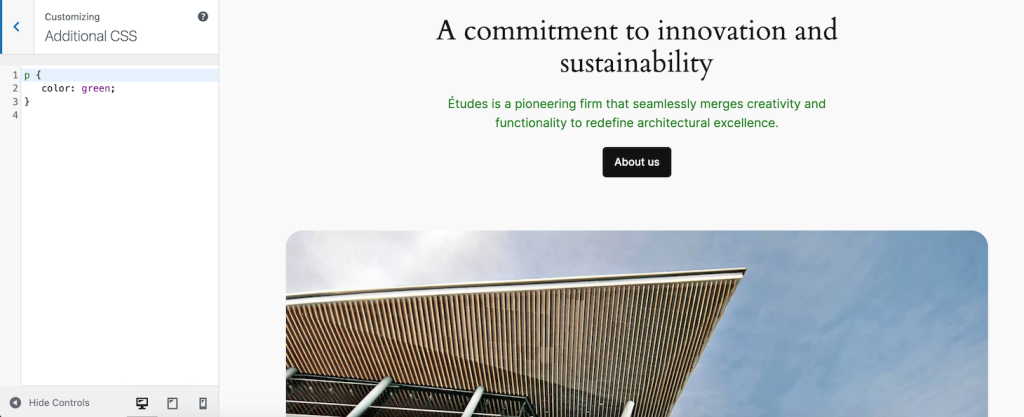
Unlike the block theme editor, you can’t add a CSS class to a specific block by clicking it. To modify a particular element, you must write the HTML tag in your code and apply the styling.
For example, to change all body text color to green, select the <p> tag and add the color styling like this code:
p {

   color: green;

}
You can check your website content’s HTML tag by editing a page and switching to the code editor. Read our WordPress text editor guide to learn more about the process.
Adding WordPress custom CSS using a child theme
A child theme is a derivative of another theme with the same appearance but different files. It lets you add custom CSS without modifying its parent theme’s code, allowing you to easily revert the changes.
Using a child theme also ensures your custom code remains after an update, preserving the custom styling. This is important because a patch typically overwrites existing files with the new ones.
After creating and activating a child theme, open your WordPress admin dashboard and go to Tools → Theme File Editor. Select the style.css file, add your custom code to the designated field, and save the changes.
If you want to use a custom CSS class on a particular WordPress block, simply open the block editor and repeat the steps of the first method.
Troubleshooting common WordPress custom CSS issues
This section will discuss several common issues that may arise after adding custom CSS to WordPress and their solutions.
Changes are missing
If your new design doesn’t appear after adding custom CSS, it might be due to a website cache or automatic updates.
A cache is a temporary snapshot of your website stored locally in your web browser. Since it seldom updates, the new CSS style might not appear immediately after you add the custom code.
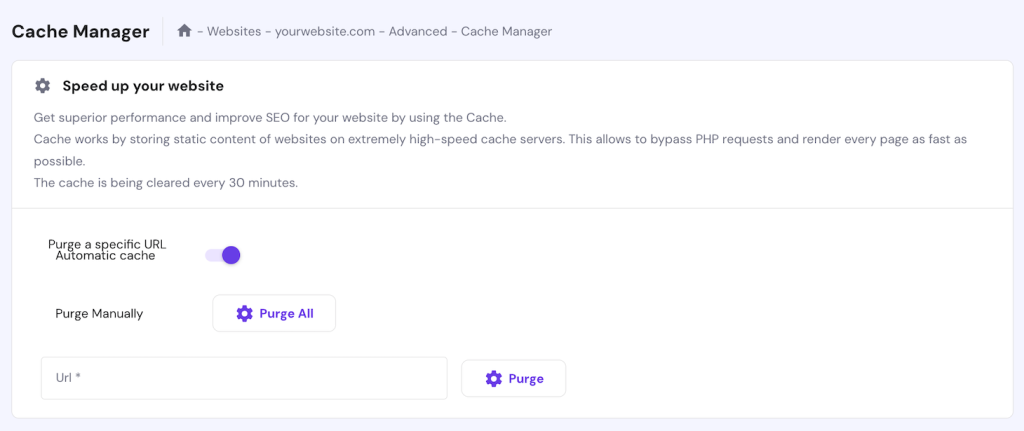
To fix it, clear the cache in your WordPress website and web browser. If you use Hostinger’s automatic cache feature, wait 30 minutes for the cache to reset or purge it manually via the Cache Manager menu in hPanel.
If your style suddenly disappears, it may be due to your web host’s WordPress auto-update feature. Since we recommend not turning this setting off for security reasons, you can always add additional code to a child theme’s stylesheet.
CSS selector specificity
To assign a style, CSS picks a specific HTML element using a selector. An element can belong to multiple selectors, which your theme might assign by default.
Using the wrong selector might prevent your custom style from overriding the existing CSS code. To replace the current setting, you must use a selector with a higher CSS specificity.
For example, use #selector instead of .selector since it is more specific. If it doesn’t work, it means your theme uses inline CSS styling, and you must add your custom code directly to the HTML file.
To check for inline styling, access your WordPress site via a web browser. Right-click anywhere on the screen and select View Page Source or Inspect Element. You should see your theme’s inline CSS and selectors.

Misspelled CSS syntax
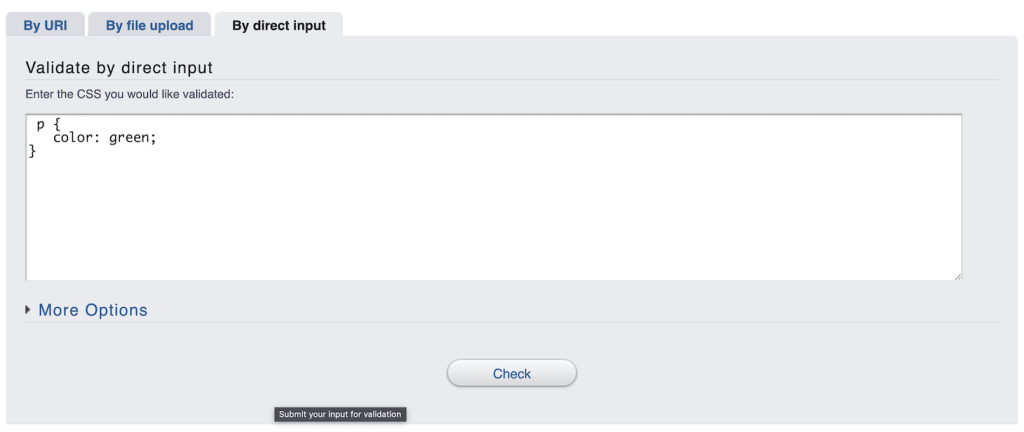
Typo is a common issue that can cause syntax errors and break your code’s functionality. If you directly write your custom CSS via the WordPress theme file editor, such issues often arise due to the lack of a built-in highlighter feature.
Before inserting the code, we recommend checking it using a tool like CSS validator. Simply go to the By direct input tab, paste your snippet, and click Check to highlight any error.
Alternatively, we recommend writing the code using a tool with a syntax highlighter, like Visual Studio Code. This feature will automatically check for errors, allowing you to fix them before deployment.
If you host your WordPress website on Hostinger, we recommend editing the file via File Manager. It’s built-in code editor is accessible from your web browser and comes with a syntax highlighter.

Responsive design issues
WordPress themes use a responsive design that automatically adjusts the position and dimension of HTML elements in your web page to ensure your website displays correctly across different screen sizes.
If your code doesn’t adhere to the existing CSS rules, the new style might get cropped or warped.
When adding custom CSS code, always check if the new style displays properly across different devices.
The WordPress customizer has a live preview feature that lets you double-check how your new styling looks on different viewports. Alternatively, you can do so using your web browser’s developer tool.
Pro Tip
To avoid errors, we recommend testing changes in a WordPress staging area before pushing it to the live site.
Conclusion
Adding CSS to WordPress is a common method of modifying a website’s appearance beyond the default customization features. In this article, we have described four methods to try:
- Block editor – add your custom code to your theme’s style.css file and assign the CSS class to a block via the post editor. This method suits block theme users.
- Plugins – use WordPress plugins like WPCode to add styling to your website. Utilizing this tool is ideal if you want more features and a centralized area to manage your code.
- Theme customizer – open the theme customizer menu and insert your code into the Additional CSS field. Classic theme users commonly use this technique.
- Child theme – create a child theme and write the CSS code into its stylesheet. If you plan to add a lot of code and keep it after an update, this method may suit you best.
If the new styling doesn’t show up, clear your website cache, check for syntax issues in your code, and use a CSS selector with a higher specificity. Also, make sure it displays properly across different viewports.
Add custom CSS to WordPress FAQ
Where is the custom CSS file in WordPress?
WordPress doesn’t have a dedicated file for storing custom CSS code, meaning additional styling goes to your current theme’s default style.css. If you add custom CSS using the theme customizer, it will store the styling in the database.
Where do I save custom CSS in WordPress?
In WordPress, you can save custom CSS into a child theme’s style.css file or the Additional CSS field in the theme customizer menu. Alternatively, you can store additional styling using a plugin like WPCode.
Can I edit the CSS stylesheet directly?
Yes, you can directly edit your current theme’s style, but we don’t recommend it since your code will disappear after an update. Instead, add custom CSS to a child theme’s style.css file, theme customizer’s Additional CSS field, or a plugin like WPCode.

Aris is a Content Writer specializing in Linux and WordPress development. He has a passion for networking, front-end web development, and server administration. By combining his IT and writing experience, Aris creates content that helps people easily understand complex technical topics to start their online journey. Follow him on LinkedIn.